Now that we have it wired, we need to run a few tests to see if it is wired correctly.
The first thing you want to do when you turn the power on is to check to see if all of the devices are getting power by looking at their power indicator lights. The devices are the Raspberry Pi, 3 Motor Controllers, the Microcontroller, the Shooter Motor, the Turntable Motor, and the Gyro. Note that the Drive Motors and the Feeder Motor do not have lights.
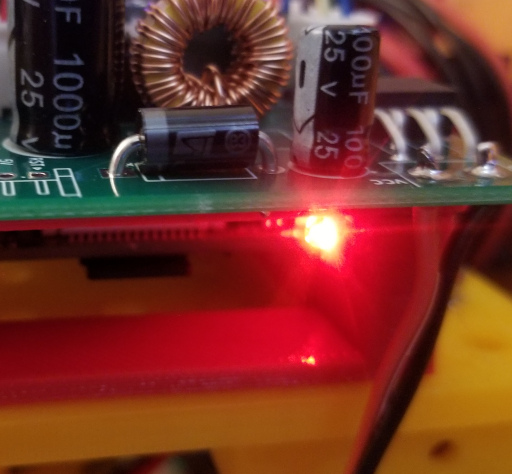

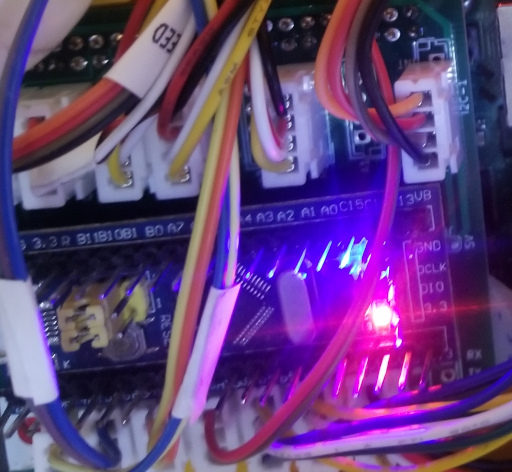
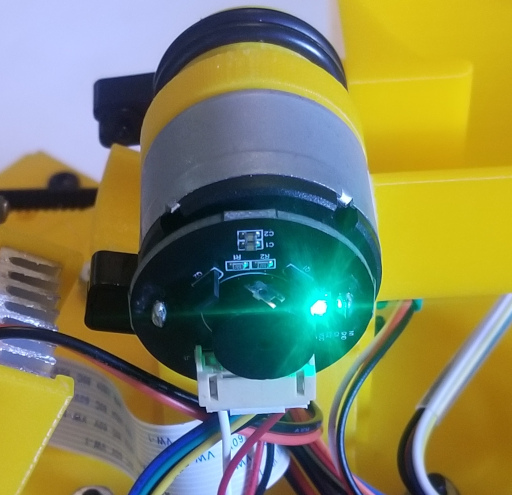
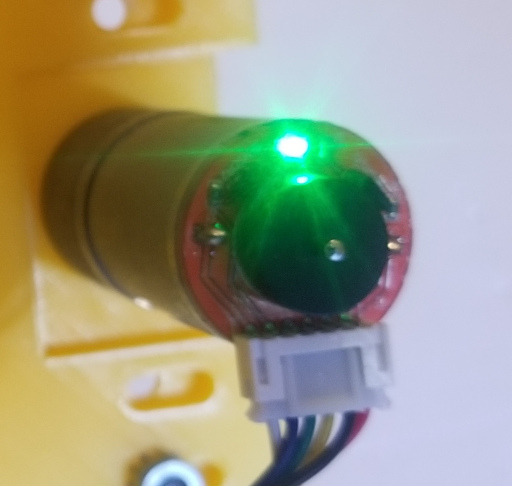
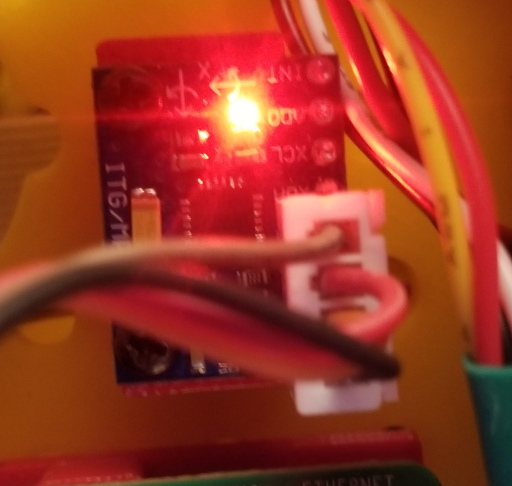
If ANY of these lights are not on, you should turn the robot off immediately and check the power connections.
Next, in VS Code, open the folder NerfBotWiringTest and run that program on your NerfBot.
Test Drive Motors
Pressing Button 1 on the joystick should cause the Left Motor to run for two seconds followed by the Right Motor running for two seconds. The speeds of the left and right motors are logged to the TERMINAL window. You should verify that the left motor is the one that is running during the first two second and the right motor is running during the second 2 seconds. Also monitor the TERMINAL output to verify the the encoders for the left and right motors are working.
Test Shooter Motor
Press and hold Button 2 and the Shooter Motor should run. The speed should also be displayed in the TERMINAL window.
Test Feeder Motor
Press and hold Button 3 and the Feeder Motor should run. The speed should also be displayed in the TERMINAL window.
Test Turntable Motor
Press and hold Button 4 and the Turntable Motor should run. The speed should also be displayed in the TERMINAL window.
Test Limit Switches
Pressing Button 5 will start displaying the state of the left and right limit switches in the TERMINAL window. While this command is running activate both the left and right switches to see that their state is properly reported. Pressing Button 5 a second time will stop the test.
Test Camera Light
Press and hold Button 6 and the Camera Light should come on.
Test the Ball Counter
Pressing Button 7 will start displaying the ball count in the TERMINAL window. Use your finger to break the beam sensor and verify that the count increases.
Test the Navigator
Pressing Button 8 should start the Navigator. The Navigator will first initialize which will take a few seconds. When the initialization is complete it should display the current Yaw in the TERMINAL window. Rotate the robot and verify that the Gyro is working.