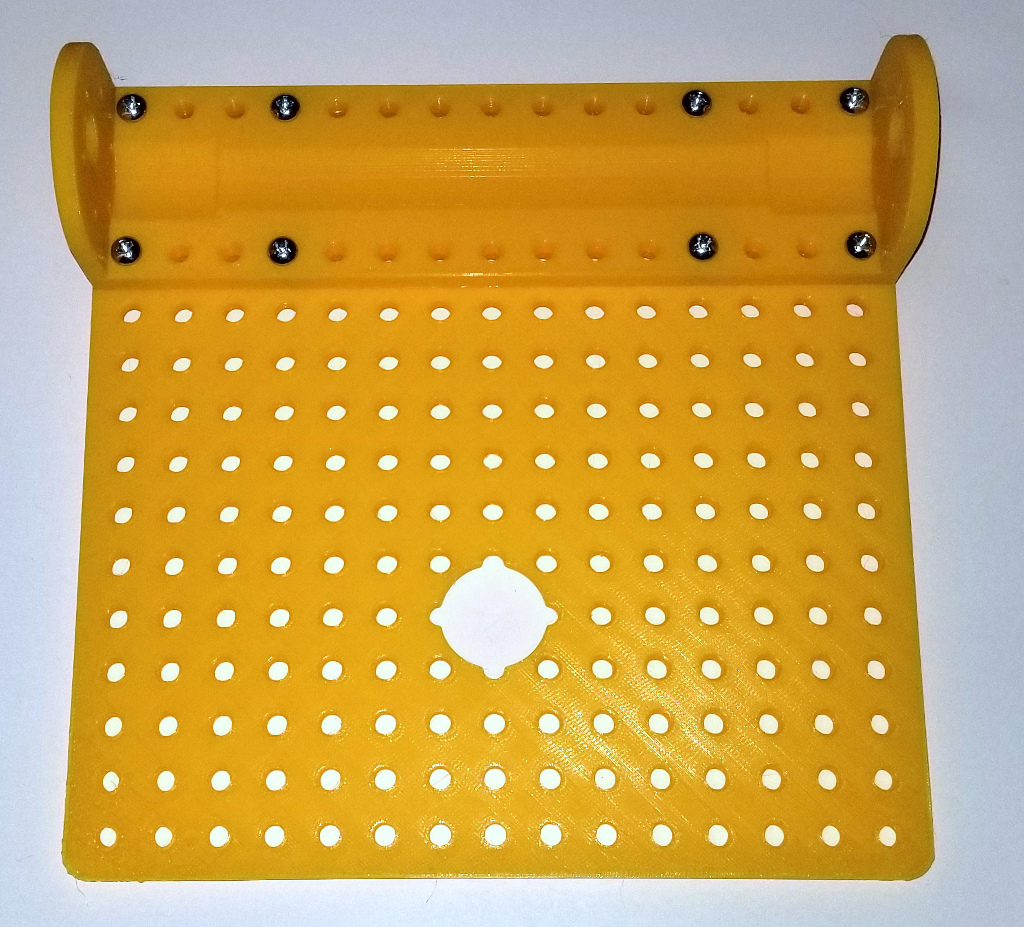
First attach the Drive Motor Mount to the Chassis with eight 3/4 inch 8-32 bolts as shown below. Make sure that the large hole in the chassis is at the back of the robot.
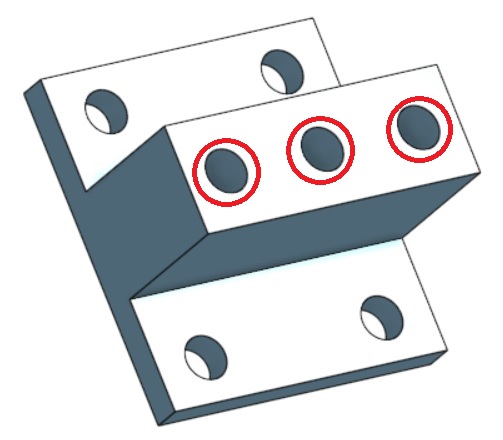
Now drill the three holes in the Swivel Wheel Mount as indicated below using a 3/16 inch drill:
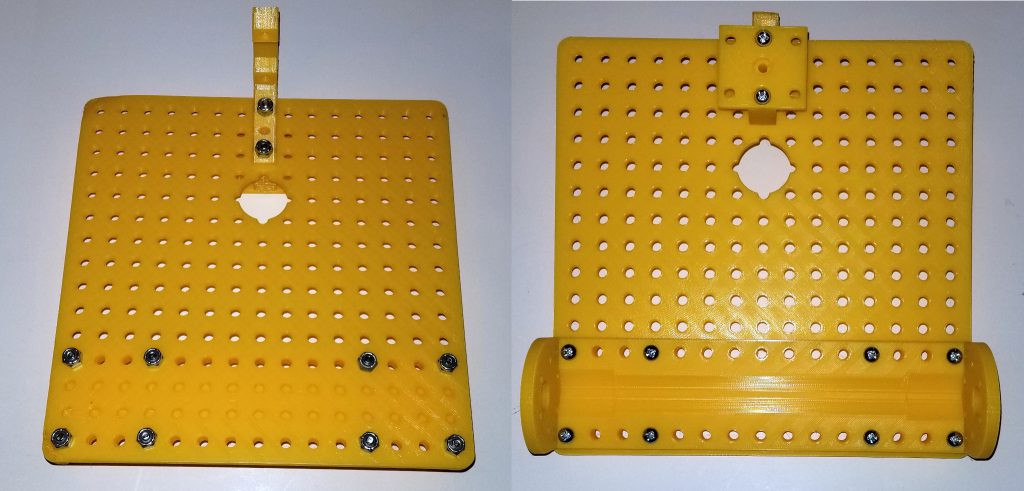
Then attach the Swivel Wheel Mount together with the Circuit Breaker Mount using two 1-1/2 inch 8-32 bolts as shown below:
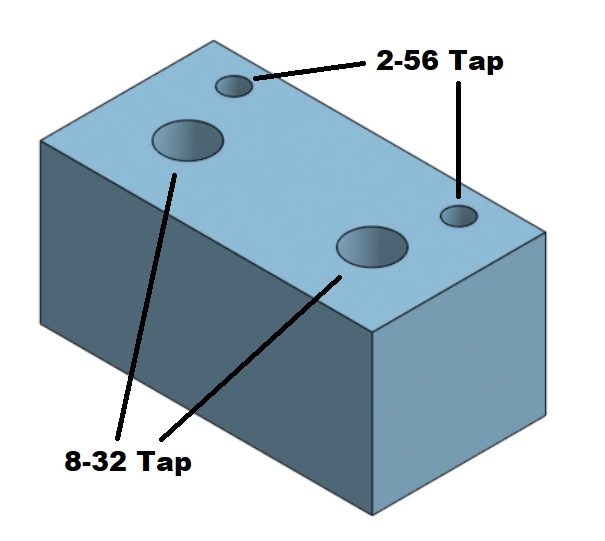
Prepare the Gyro Mount by tapping the holes as shown below:
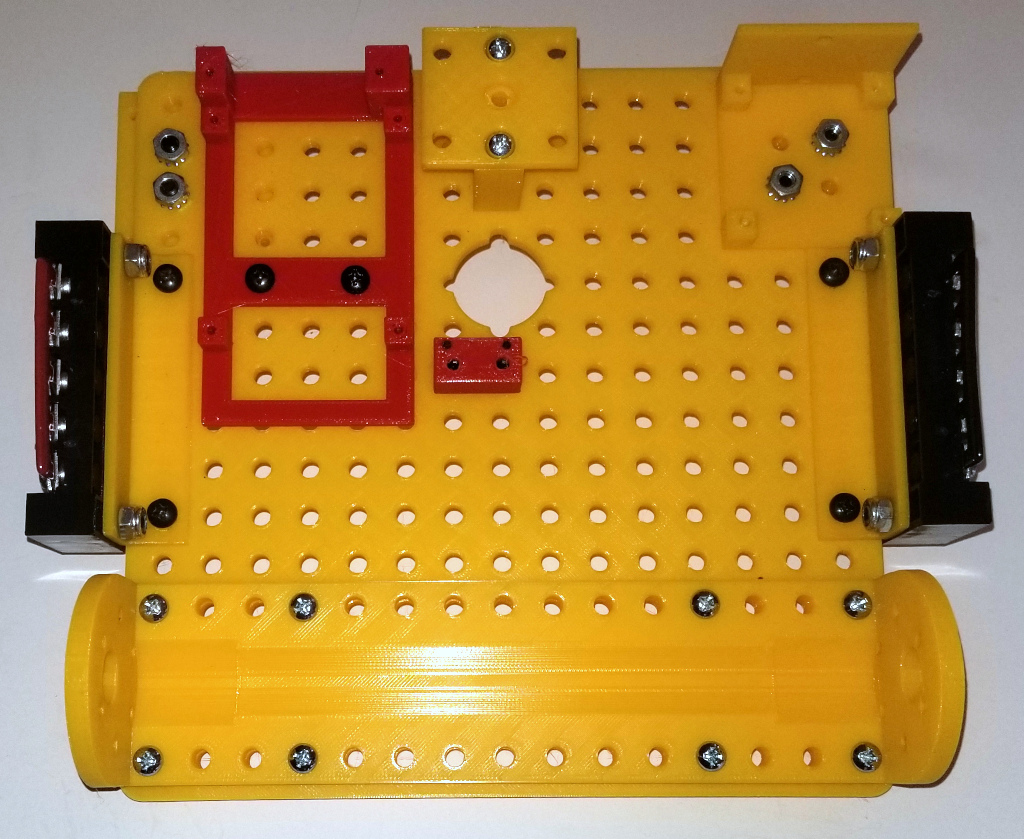
Now attach the three Motor Controller Mounts, two on the top and one on the bottom, the two Power Distribution Mounts on the sides, the Raspberry Pi Mount, and the Gyro Mount using 8-32 bolts as shown below:

Next, attach the two Power Distribution Modules using four 1/2 inch 8-32 bolts. Place the red one on the left and the black one on the right as shown below:
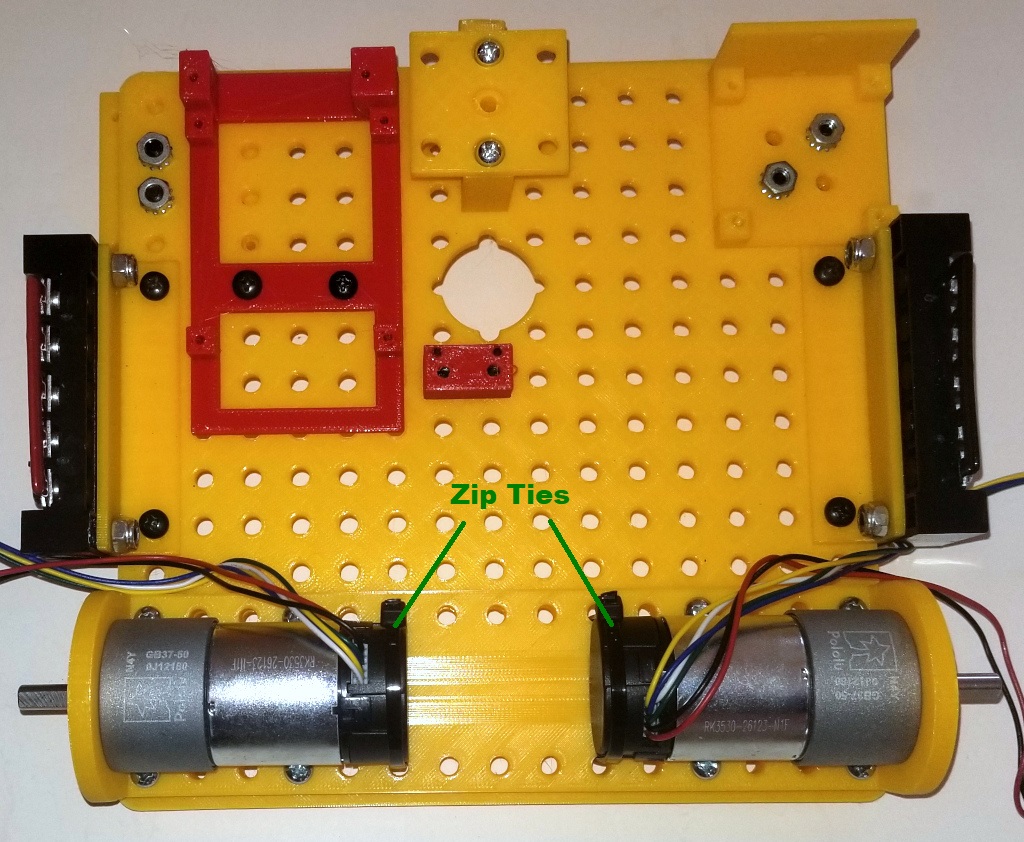
Now attach the two Drive Motors to the mount using three 1/4 inch M3 screws. Be careful to not use longer screws as they can penetrate the gear casing far enough to interfere with the gears. Once you have attached the two drive motors, use zip ties to fasten the other end of the motors to the chassis as shown below:
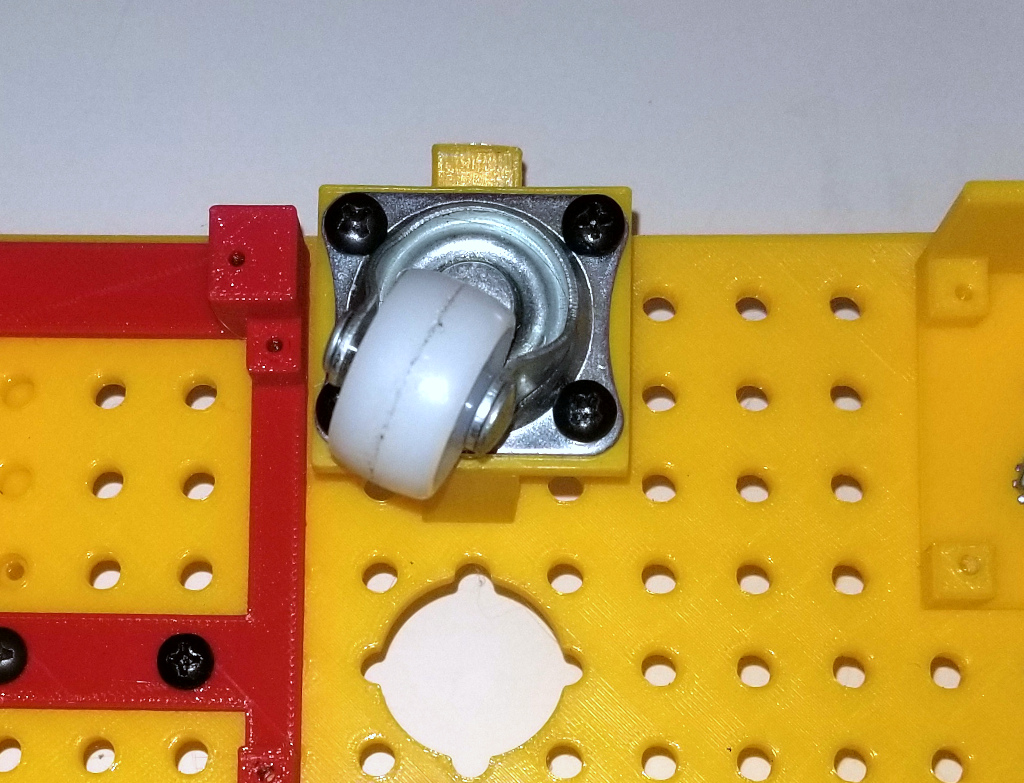
Next attach the Swivel Wheel to the back of the robot using four 1/2 inch 8-32 bolts as shown below:
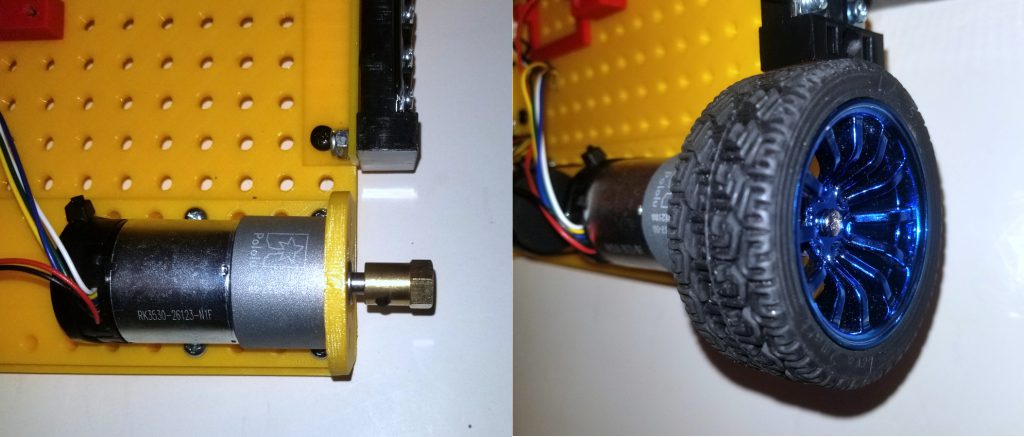
Now attach the wheels using two 6mm bore hex couplers. Then use a 1/4 inch M4 screw to attach the wheels to the hex couplers:
Next we are going to attach the power wires that will connect to the battery. Cut a 16 inch piece of 16 gauge red and black wire. On one end, crimp U connectors that will screw into the power distribution module. On the other end connect the proper connector for the battery you have chosen. (In my case these are XT60 connectors):

Then feed the wire from the top through the large hole and connect the red and black wires the their respective power distribution modules:

Now attach the Circuit Breaker to the Circuit Breaker Mount on the back of the robot. Then cut the red power wire on the top and feed each end into either side of the Circuit Breaker as shown:
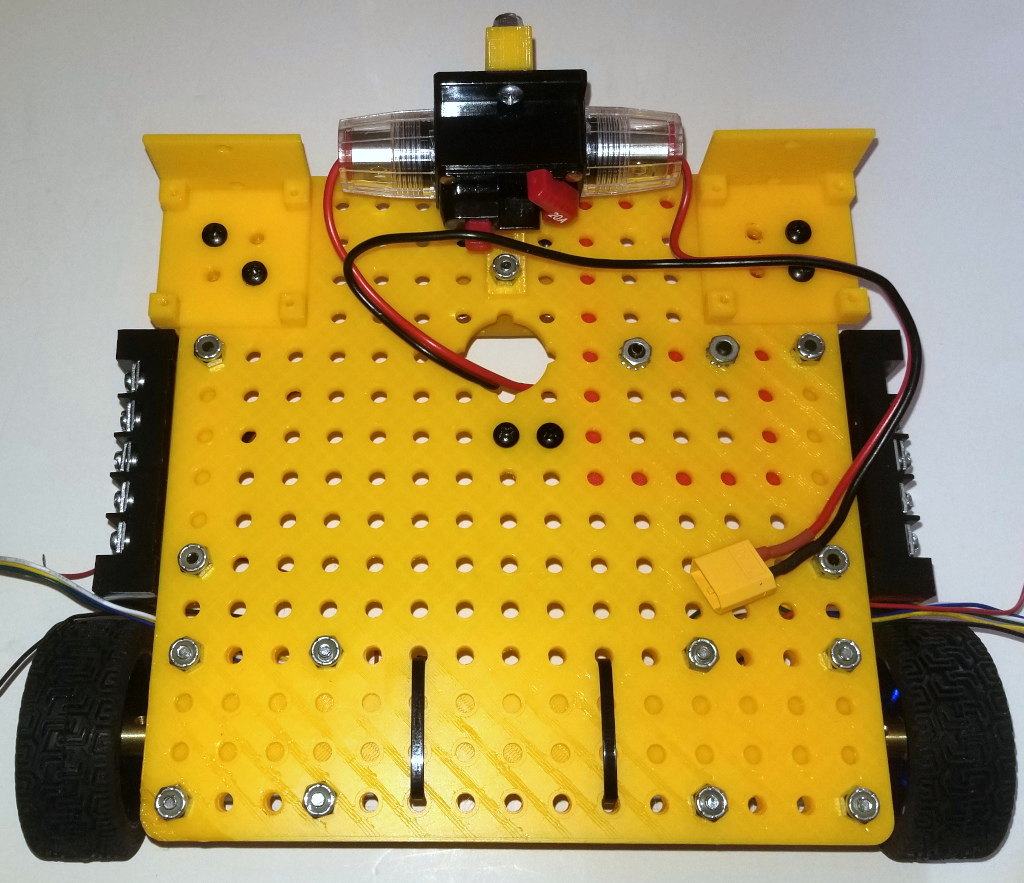
We will now mount the first of 3 Step Up Regulators. Note that if you are using a 12v battery, this first regulator is not needed. In that case you should connect the battery directly to the motor controller.