This section will walk you through installing the tools necessary to use the tutorials on this site. Note that these instructions are for Windows installations only.
Install Java jdk
The first step is to install the Java jdk 11 which can be found here:
https://www.oracle.com/java/technologies/javase-jdk11-downloads.html
Download and install the Windows x64 Installer.
Install VS Code
If you have the version of Visual Studio Code that you use to program your FRC robot, you can use that to program the Minibots. Otherwise you will need to install Visual Studio Code for Java which can be found here:
https://code.visualstudio.com/docs/languages/java
In previous versions of VS Code, when debugging a Java program there was a little control strip that appeared which allowed you to kill or restart the program you were running by pressing buttons on the strip. In the current version this no longer works. Clicking the kill button only disconnects VS Code from the program but does not kill it and clicking the restart button fails to work. To kill the program you had to click in the terminal window and press Ctl+C.
However it is possible to restore this behavior by reverting the debugger to a previous version. If you wish to do this, here are the steps:
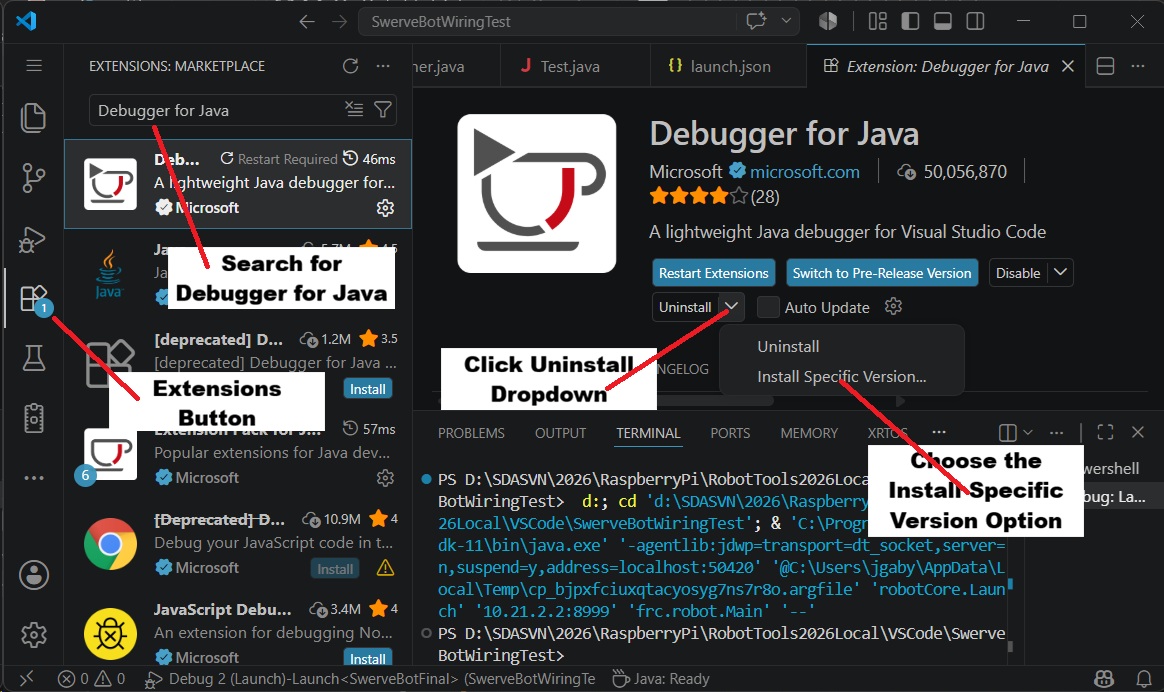
As shown in the above image, click on the Extension button and search for “Debugger for Java”. Then click the dropdown next to the “Uninstall” button and choose the “Install Specific Version” option:
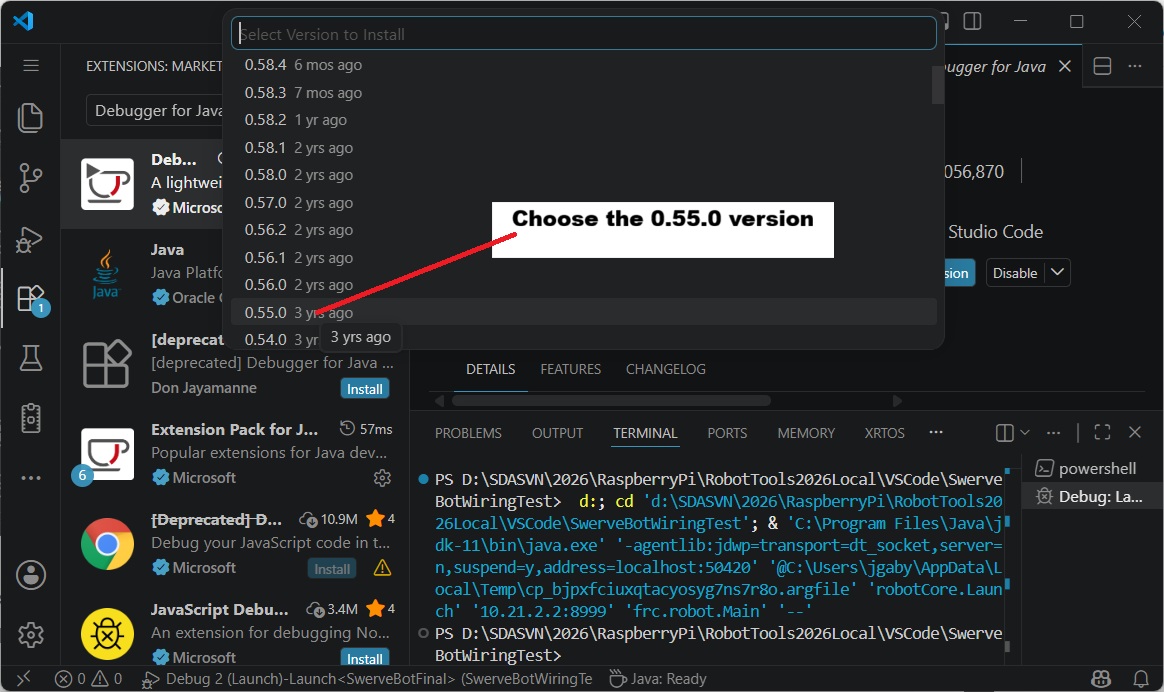
Then choose the “0.55.0” version. I am not sure what you lose out on with that older version but for me it is worth it to have the debug control strip working again.
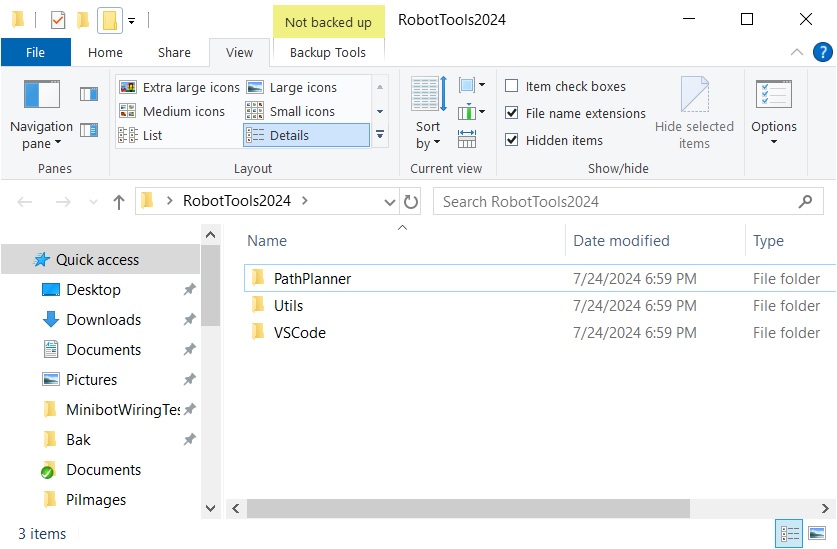
Robot Tools
The remaining robot tools can be found here: https://github.com/Paradox2102/RobotTools2026
.
Creating a Raspberry Pi Image
The Raspberry Pi image that you will need can be found here. Flash this image onto an SD card that is at least 8GB. Then boot your Raspberry Pi from the image.
The Raspberry Pi will show up as a WiFi hotspot named SwerveBot. Connect to that and then open a secure shell by typing:
|
1 |
ssh pi@10.21.2.2 |
The password is ‘raspberry‘ (without the quotes).
The first thing you want to do is to expand the file system to match the size of the SD card that you chose. Do this by entering the following command on the Raspberry Pi command prompt:
|
1 |
raspi-config --expand-rootfs |
Then reboot your Pi by typing:
|
1 |
sudo reboot now |
You will then probably want to change the SSID of the hotspot so that all of your robots use a different ID. To do that, connect back to the PI with a secure shell and type:
|
1 |
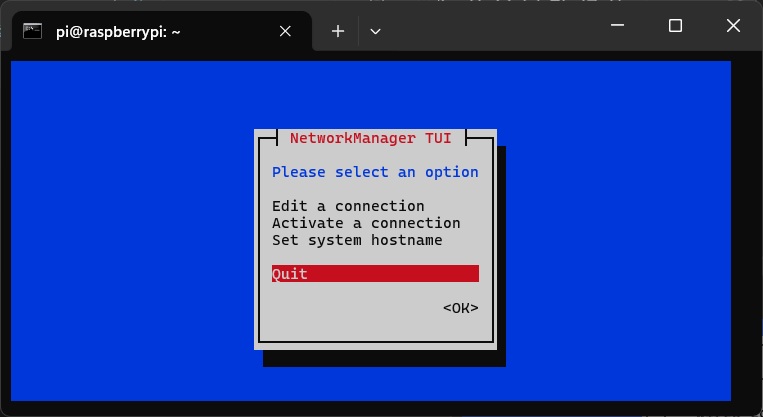
sudo nmtui |
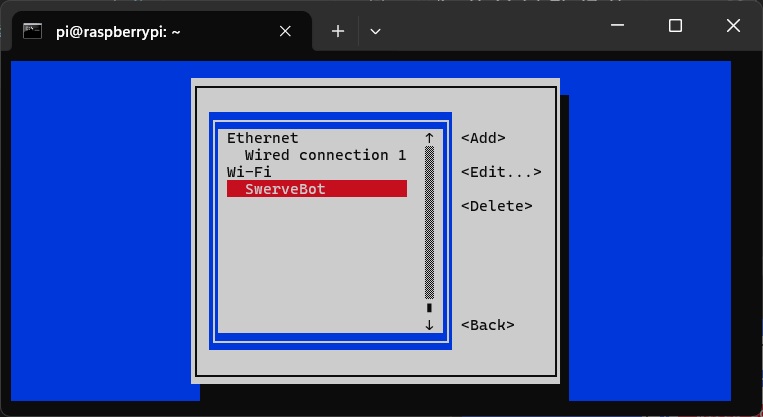
This should open the following window:
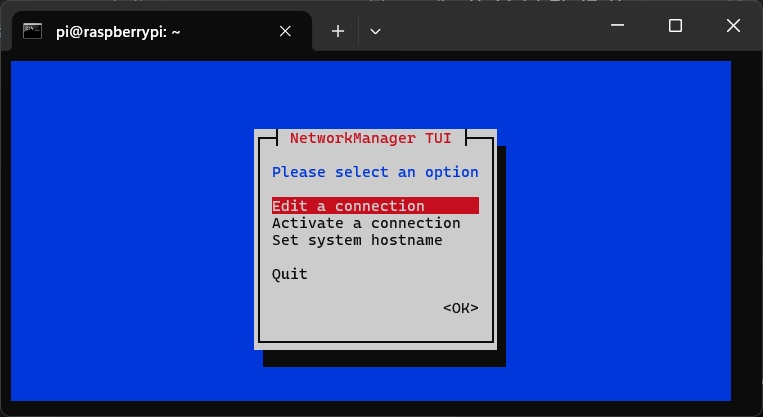
Press Enter and you should get the following window:
Cursor down to the SwerveBot entry and press Enter. You should then get the following:
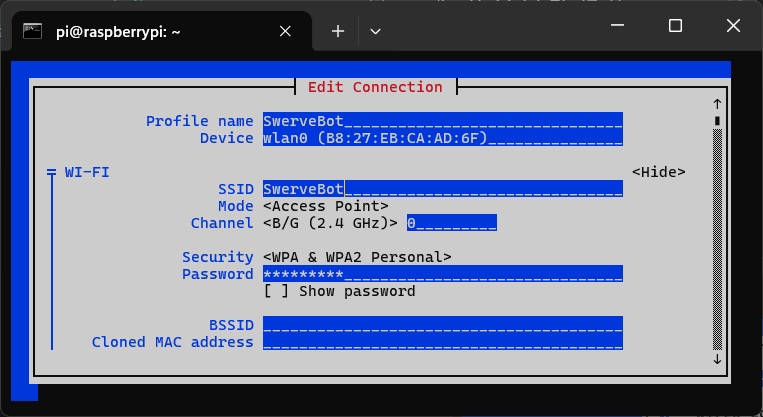
Cursor down to the SSID field and change the SSID to whatever you want:

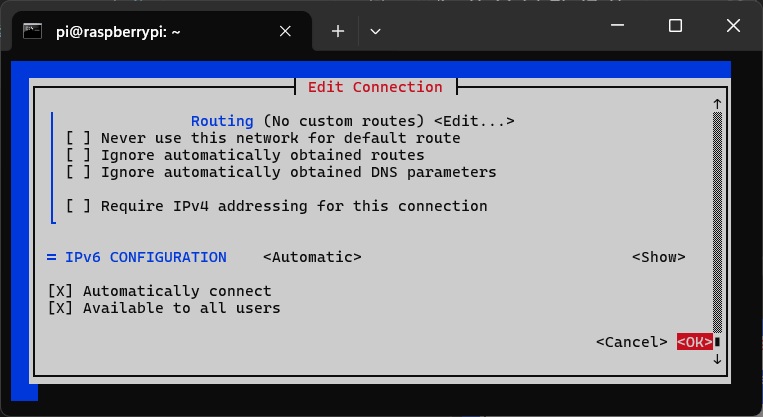
Then cursor all the way to the bottom, choose the OK option and press Enter.
Then tab over to the Back button and press Enter
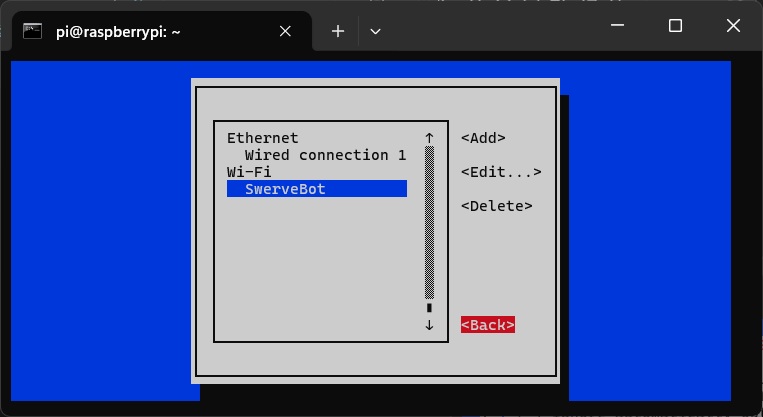
Finally cursor down to the Quit option and press Enter.
Then reboot your Pi and it should come as the newly named hotspot.
You are now ready to follow the instructions in the Minibot and/or SwerveBot tutorials to create and run your own robot programs.