This topic will walk you through the process of building the robot used for the Robot Java tutorials. My goal in designing the robot was to create a relatively inexpensive robot that can be used to introduce the students to robotics programming. In doing so, I wanted to create an environment that would be as similar to the FRC robot programming environment as possible. Since our team has chosen to Java for it’s programming, the robots could no longer use the Arduinos that we had used in previous years.
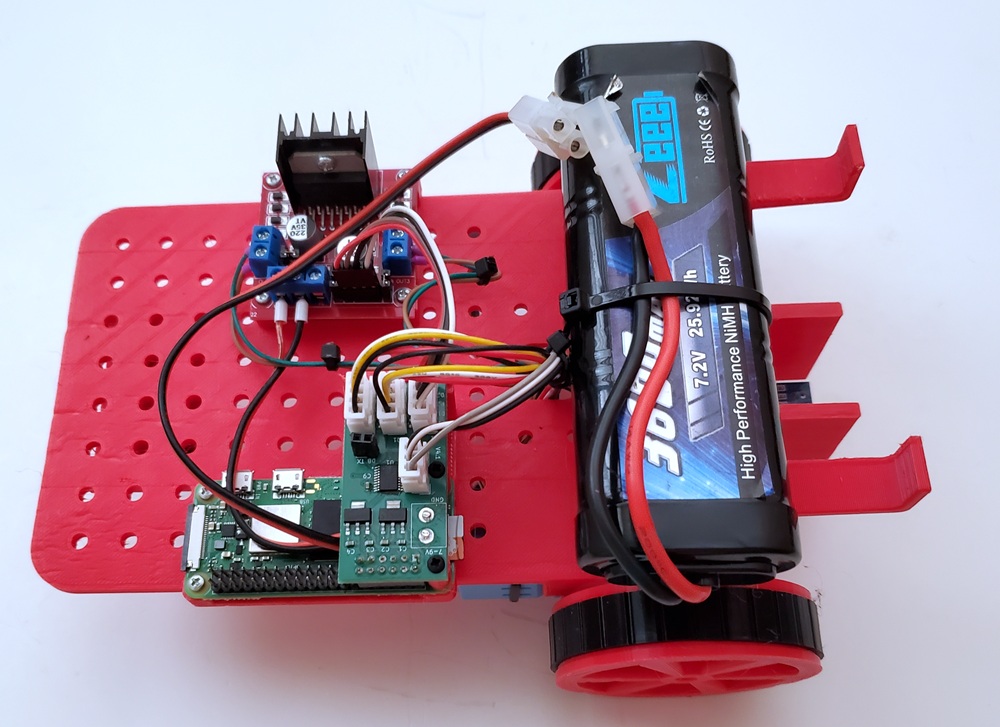
I am now using the inexpensive Raspberry Pi Zero 2W to run Java. Make sure that you purchase version 2 as the original Pi Zero used a processor which would not support Java 8 which is required by the current WPIlib.
To control the low level hardware I am currently using an custom microcontroller. The main reason for this is that the Linux operating system that runs on the Raspberry Pi isn’t that that well suited to controlling low level hardware (there is only one hardware PWM pin for example).
The communications between the microcontroller and the Raspberry Pi is done via an I2c connection.