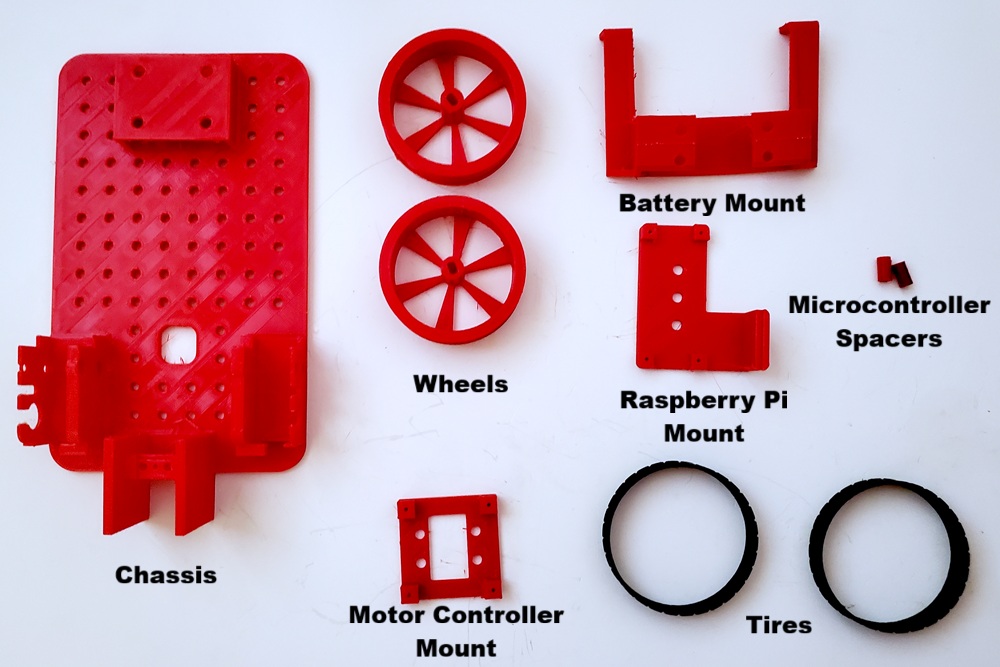
The following set of parts are all 3D printed and the STL files can be found here.
You will also need the following hardware parts:
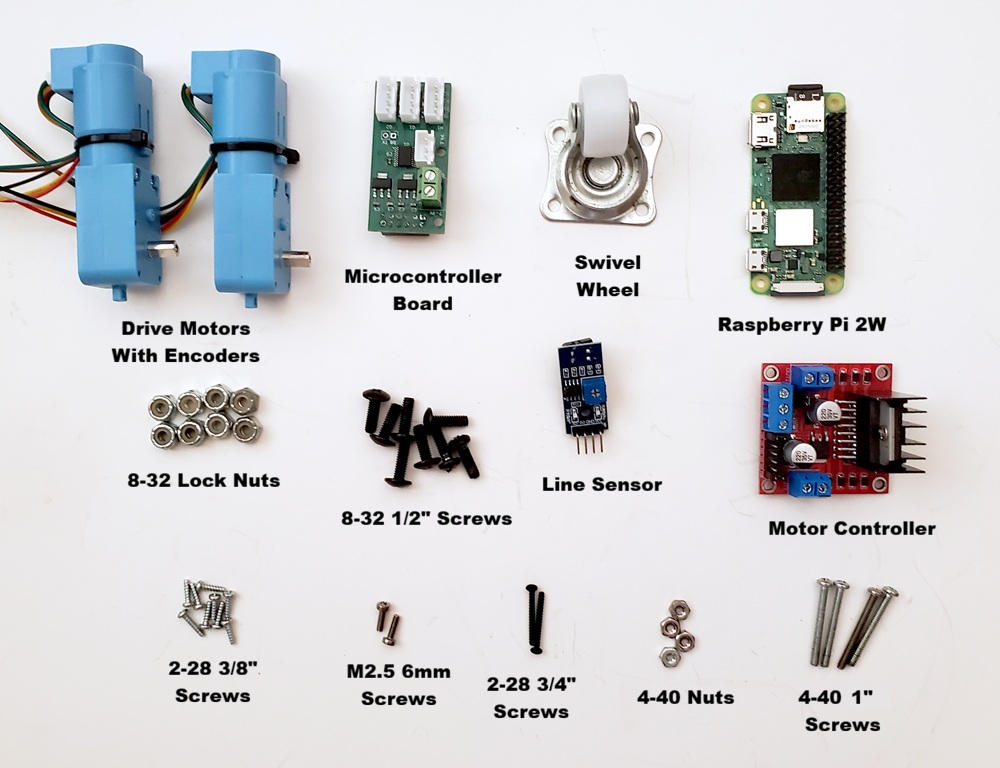
The following is the list of the non 3D printed parts with links to possible sources. Note that the links below are mere suggestions and should not be seen an endorsement of that particular vendor.
| Image | Quantity | Description | Source |
 | 9 | 2-28 3/8″ Screw | |
 | 2 | 2-28 3/4″ Screw | |
 | 4 | 4-40 1″ Screw | |
 | 4 | 4-40 Hex Nut | |
| 8 | 8-32 1/2″ Screws | ||
 | 8 | 8-32 Lock Nut | |
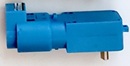 | 2 | Drive Motor With Encoder | https://tinyurl.com/35d52xd5 or contact me at robotics@gabybot.com |
 | 1 | Microcontroller | Contact me at robotics@gabybot.com |
 | 1 | Motor Controller | https://tinyurl.com/56zcz9cw |
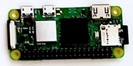 | 1 | Raspberry Pi Zero 2W | https://tinyurl.com/548x3peh |
 | 1 | Swivel Wheel | https://tinyurl.com/bdek7cte |