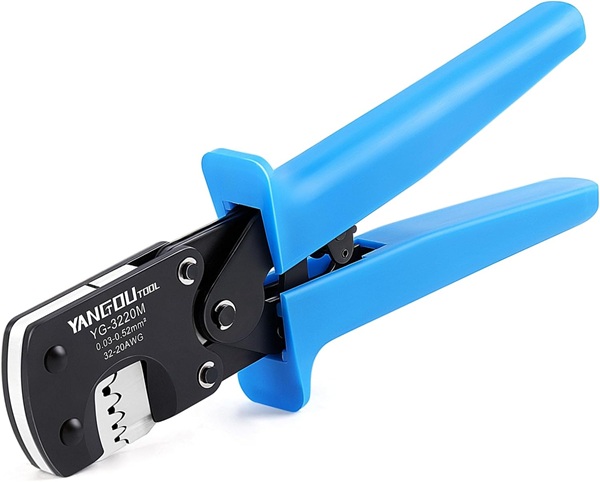
The first thing you are going to need is a proper crimping tool. I went through a number of tools before I found one that could create reliable crimps. This is the tool that I am using and you can find it here:
Next you will need the crimps and casings. We are using 2.54mm JST connectors and we will only need 4 pin female connectors. If you want some quickly you could get something like this from Amazon. This kit has the 4 pin female connectors that you need but, unfortunately, it also has a lot of other stuff that you do not. If you are willing to wait a bit you can get this (the 4 pin female without pin) and this from Aliexpress.
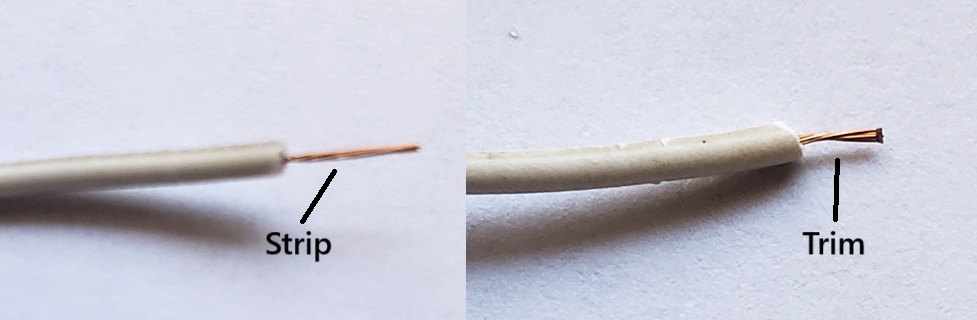
First you need to strip about 1/8″ of the insulation from the wire. I have found that it is difficult to strip that small amount accurately so I generally strip a bit more than I need and then cut off the extra:
Next, insert one of the crimps into the largest hole of the tool as shown:
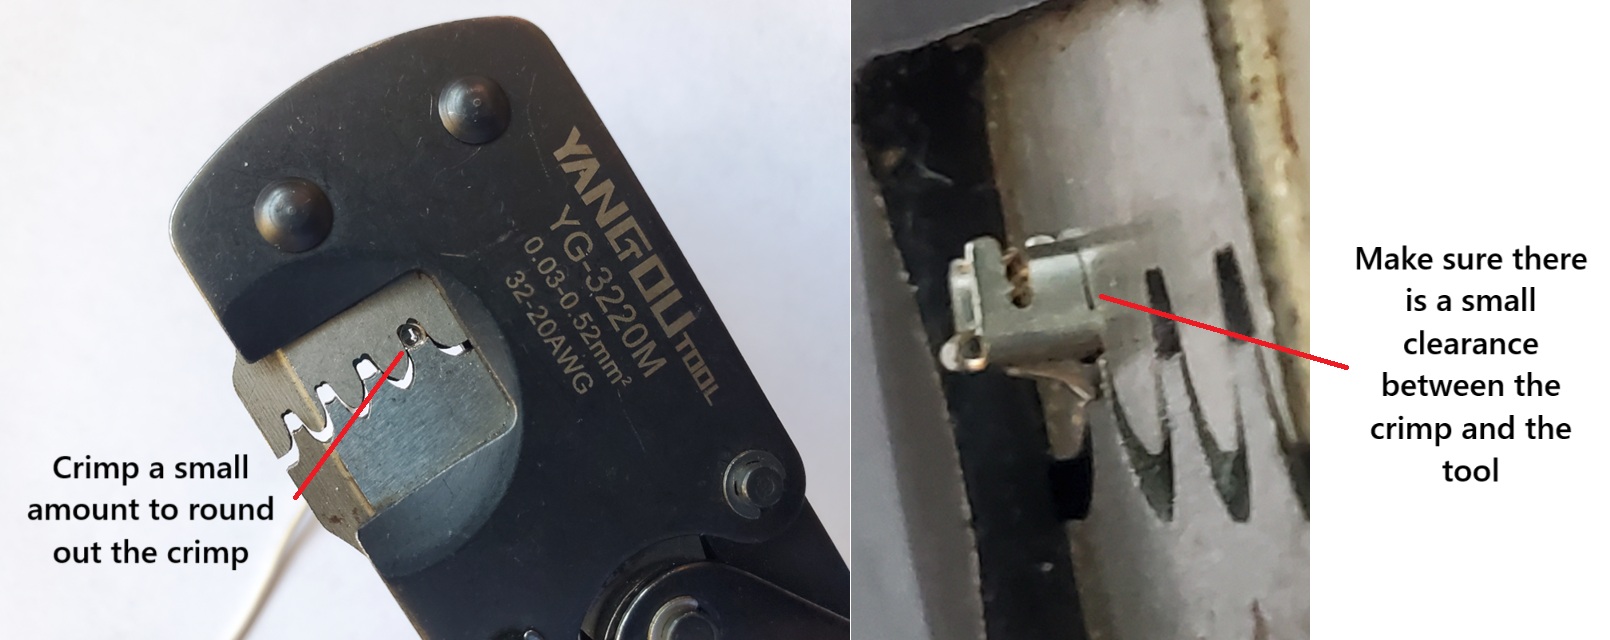
If you crimp the crimp slightly it will round out and make it easier to insert the wire. Also be sure that there is a small clearance between the crimp and too as shown.
Then insert the wire. Make sure that the insulation part of the wire is within the crimp as shown:
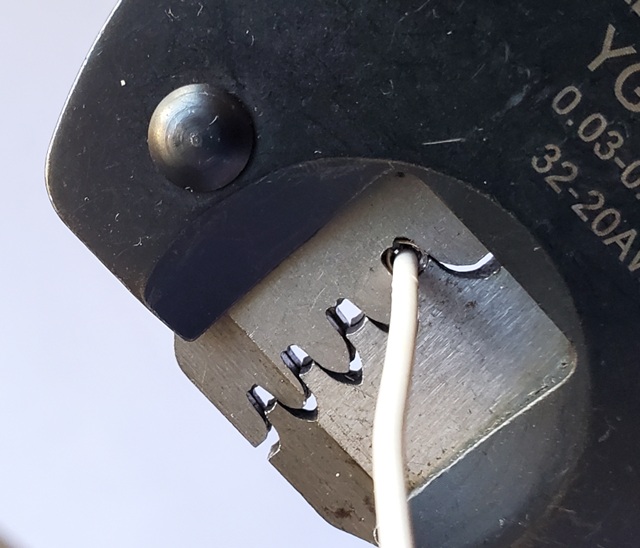
The final crimp should look like:
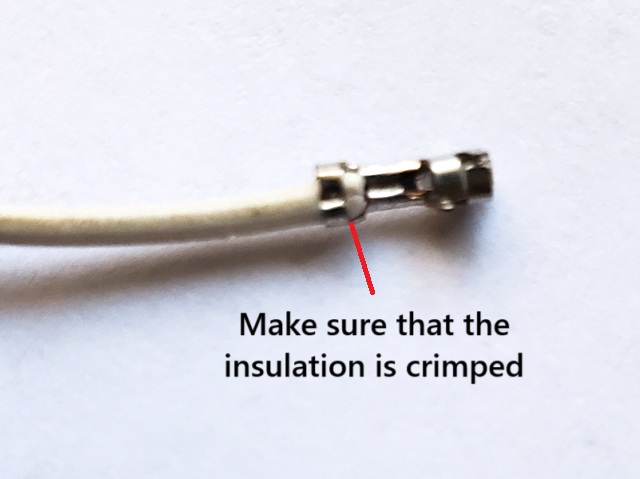
Note that the insulation should be captured by the outer crimp but not by the inner one which crimps just the wire. If the insulation is not crimped, or is in too far and is crimped by the inner crimp, then you need to cut it of and start over.