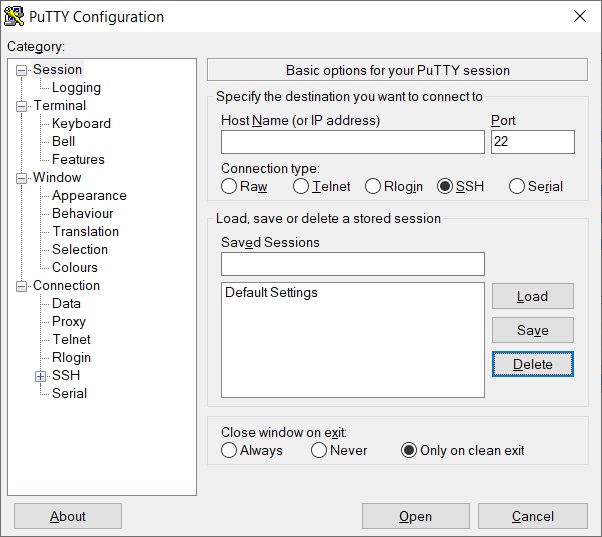
To configure the PuTTY program, double click on the putty.exe program that is in the PiUtils folder. The PuTTY configuration window should look like:
Let’s test to see if we can connect to the robot. Enter the IP address 10.21.2.2 into the Host Name (or IP address) field and enter the name Robot in the Saved Sessions field and click Save. Then click Open and the following window should appear:
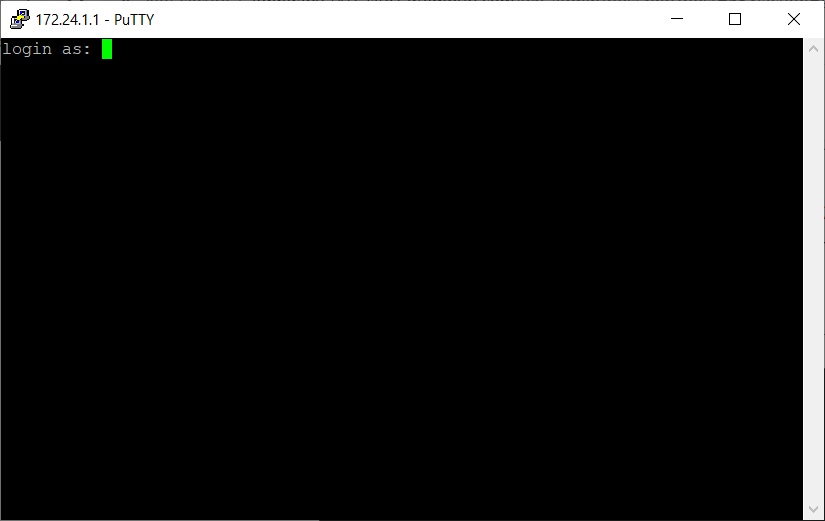
Log in using the user name pi and password raspberry. Note that when you type in the password, the keys you type will not be echoed so you have to type in the password blind. Once you get this working, close the PuTTY window. If this window does not appear, check to make sure that your WiFi is connected to your robot.
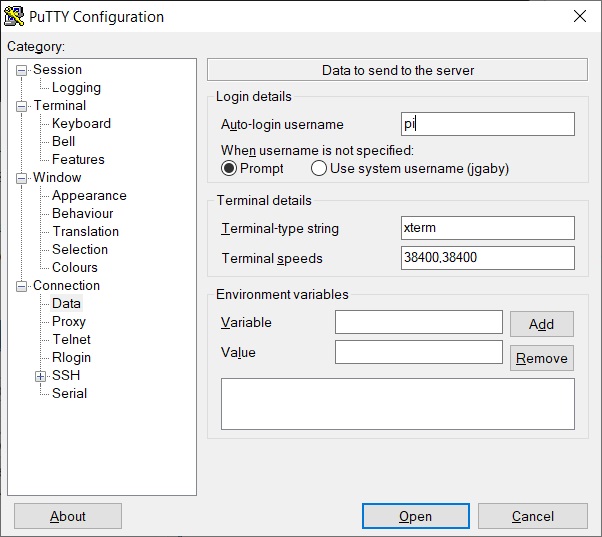
We now want to configure the session so that it automatically logs in and starts the remote launcher program on the pi. Once again, double click on the putty.exe program. Click on the Connection/Data option on the left and enter pi in the Auto-login username field like this:
Now click on the Connection/SSH option on the left and enter ./run in the Remote command field, as follows:

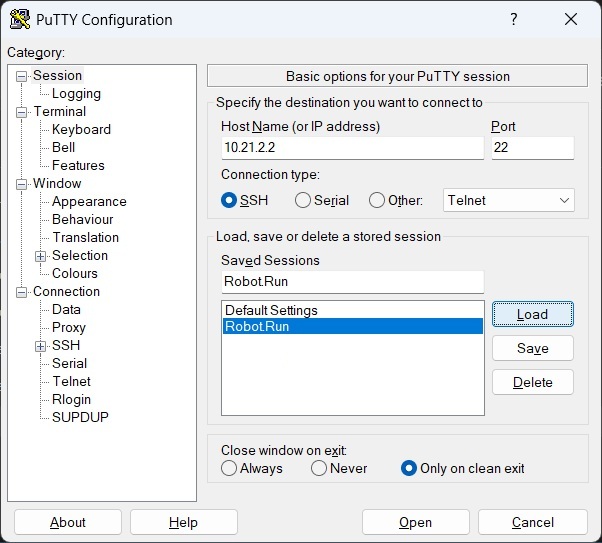
Finally, click on the Session option on the left and change the Saved Sessions name to Robot.Run, then click Save to save this session.
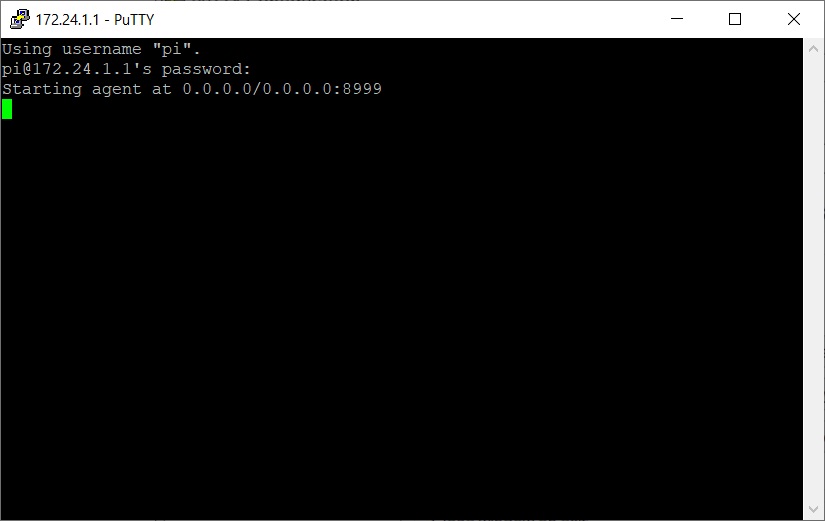
Now test this out by clicking the Open button. If everything is set up correctly, the terminal window should open and ask for your password. Enter raspberry as the password, and you should then see the following:
When you have this working, close the PuTTY window.
Now we want to create a second PuTTY session which we can use to shutdown the Pi gracefully. Launch PuTTY again, click on the Robot.Run entry and click Load. Then change the Saved Sessions name to Robot.Shutdown as shown and click Save.
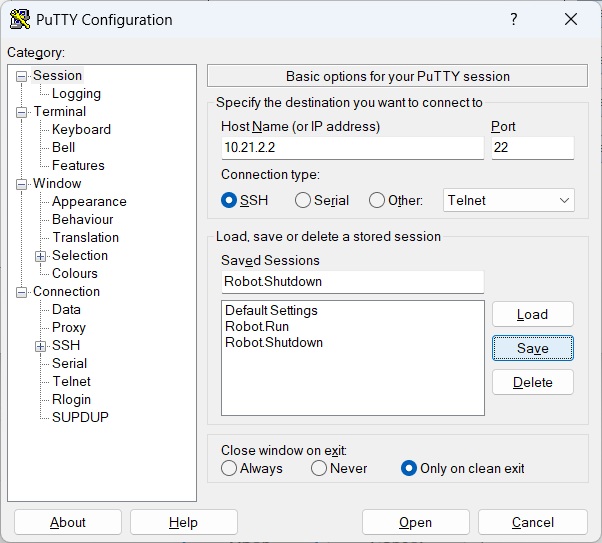
Then click on the SSH Category on the left and change the Remote command field as follows:

Finally, click back on the Session Category and click the Save button and close the PuTTY window.