The Dead Reconning we implemented in the previous chapter is good for keeping track of the robot’s position over short periods of time but because of the errors that accumulate over time it needs to be corrected by some other source.
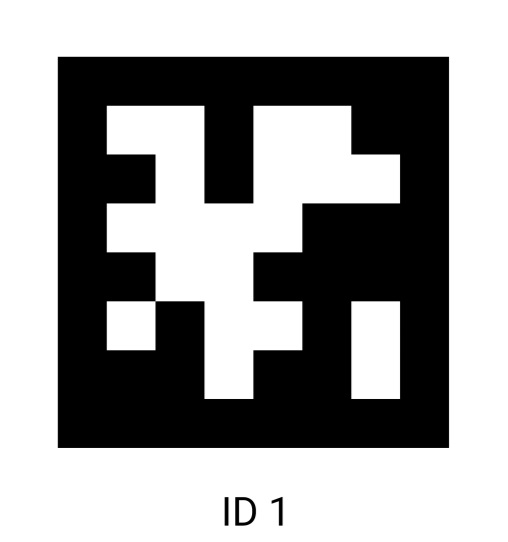
To do this we add a camera which will use Apriltags to compute the robot’s absolute position on the field. An Apriltag is a QR like code which encodes a specific number. A typical Apriltag looks like:

This particular Apriltag encodes the number one. Now if we place these Apriltags at known locations on the field, then the robot can compute its position relative to the Apriltag and since we know where the Apriltag is located we can then compute the absolute location of the robot on the field.
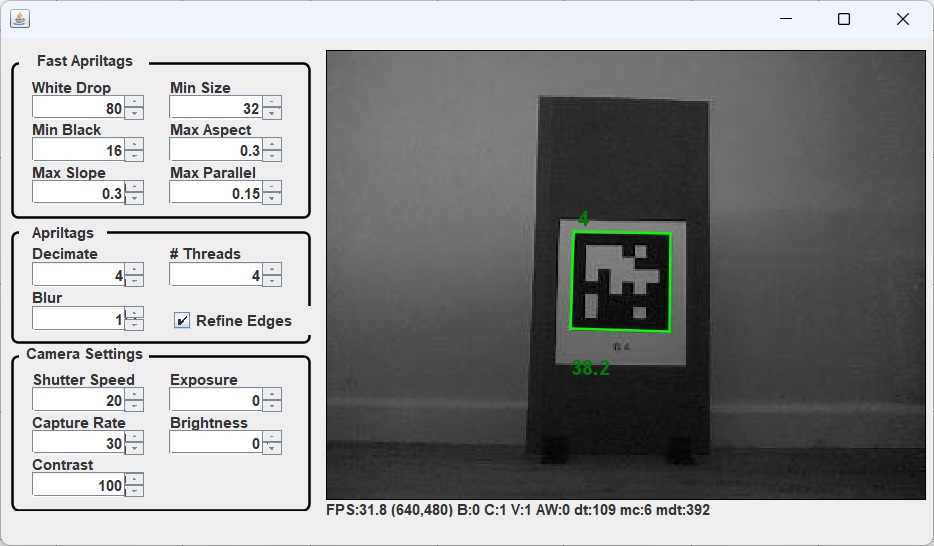
We have already created an instance of the ApriltagsCamera in the previous chapter. In fact you can already use the ApriltagsViewer.cmd program in the Utils folder of RobotTools2024 do view the camera image as the robot sees it:

Here we see the camera recognizing the Apriltag #4. A green bounding box is displayed around the tag. The small number in the upper left shows the tag number and the number in the lower left shows the distance of the tag from the camera in inches.
Now in order for the robot to be able to compute it’s position from the Apriltag we need to add some additional code. In the constructor of your DriveSubsystem add the following:
|
1 2 3 |
ApriltagLocations.setLocations(m_aprilTags); m_camera.setCameraInfo(0, 5, 0, ApriltagsCameraType.PiCam_640x480); m_camera.connect(k_cameraIP, k_cameraPort); |
Where we have defined:
|
1 2 3 4 5 6 7 8 9 |
private static final String k_cameraIP = "127.0.1.1"; private static final int k_cameraPort = 5800; public static ApriltagLocation m_aprilTags[] = { new ApriltagLocation(1, 3, 2, 90), new ApriltagLocation(2, 4, 3, 180), new ApriltagLocation(3, 3, 4, -90), new ApriltagLocation(4, 3, 3, 0), }; |
The ApriltagLocations.setLocations function allows us to specify the position and orientation of all of the Apriltags which are on the field. Our field will have 4 Apriltags at the locations shown above.
The setCameraInfo function allows us to specify the location and orientation of the camera with respect to the center of the robot.
Finally, the connect function connects the robot to the camera server.
Now to compute the robot’s position using the Apriltags, we need to use the processRegions function to update the robot’s position based on the Apriltags that the robot can see (if any). We do this by adding a call to this function in the periodic function of our DriveSubsystem:
|
1 |
m_camera.processRegions(m_poseEstimator); |
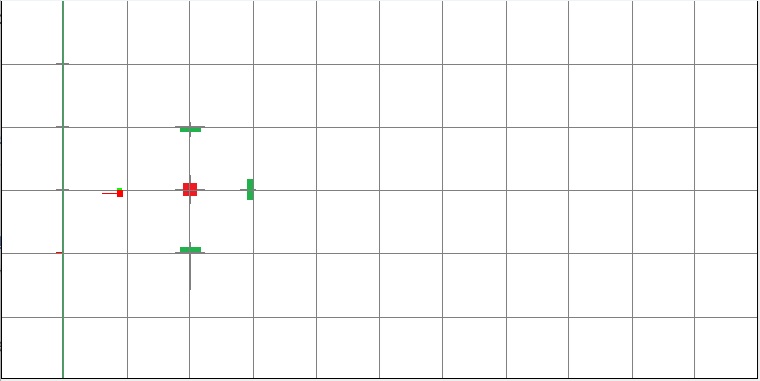
Once we have done this, we can run our program again and start the PositionViewer. If we position the robot within view of an Apriltag, the PositionViewer will now show that actual location of the robot as computed by the camera. The Dead Reconning will still be used when no Apriltag is visible, but whenever the robot sees an Apriltag, it’s position and orientation will be automatically corrected.

There is one last thing we need to do before we move on. When we created the drive function in the DriveSubsystem you will recall that we obtained the robots orientation by calling gyro.getRotation2d. I mentioned at the time that this would need to be fixed when we added the camera which corrects any accumulated errors in the gyro. We fix this by making the following change:
|
1 2 3 4 5 6 7 8 9 10 11 12 |
public void drive(double xSpeed, double ySpeed, double rot, boolean fieldRelative, double public void drive(double xSpeed, double ySpeed, double rot, boolean fieldRelative, double periodSeconds) { SwerveModuleState[] swerveModuleStates = m_kinematics.toSwerveModuleStates( ChassisSpeeds.discretize( fieldRelative ? ChassisSpeeds.fromFieldRelativeSpeeds( xSpeed, ySpeed, rot, m_poseEstimator.getEstimatedPosition().getRotation()) : new ChassisSpeeds(xSpeed, ySpeed, rot), periodSeconds)); setModuleStates(swerveModuleStates); }; |