The purpose of this site is to teach new students how to program robots using FIRST’s WPILib framework. To accomplish this we have put together a some tutorials which allow them to work with small robots to help them learn said framework.
Minibot
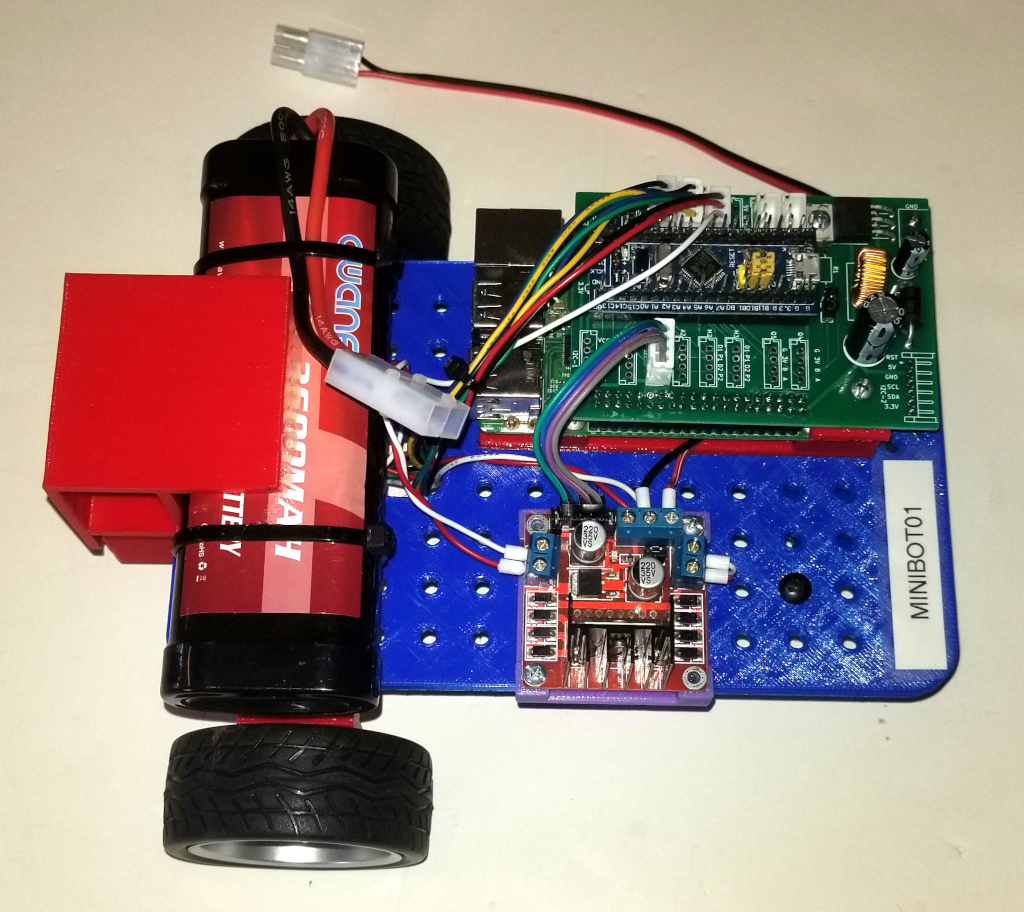
About 8 years ago, I was trying to come up with a way to teach new students how to program FRC robots. I considered creating some kind of simulator, but it seemed to me that getting the student to work with an actual robot would be more appealing. However, I needed a robot that was inexpensive enough that each student could have their own robot. Eight years ago there was no inexpensive suitable robot available, as robots such as the XRP did not exist, so I created one myself. My first version used an Arduino which connected to the laptop via bluetooth. At the time, the team was using C++ to program their robots and an Arduino was sufficient to meet the needs.
However, the team decided to switch to Java and I needed something with more horsepower than the Arduino could supply. Fortunately, at the time, the Raspberry Pi Zero was released. This I coupled with an Arduino to create a robot that could run Java and connect via WiFi.
I created the Minibot Tutorial that works with this robot. The purpose of the tutorial was to familiarize the student with the basics of FRC programming. The student learns how to create Subsystems and Commands and how to combine commands. The motors have quadrature encoders so the student also learns how to control a motor’s speed using PID.
Nerfbot

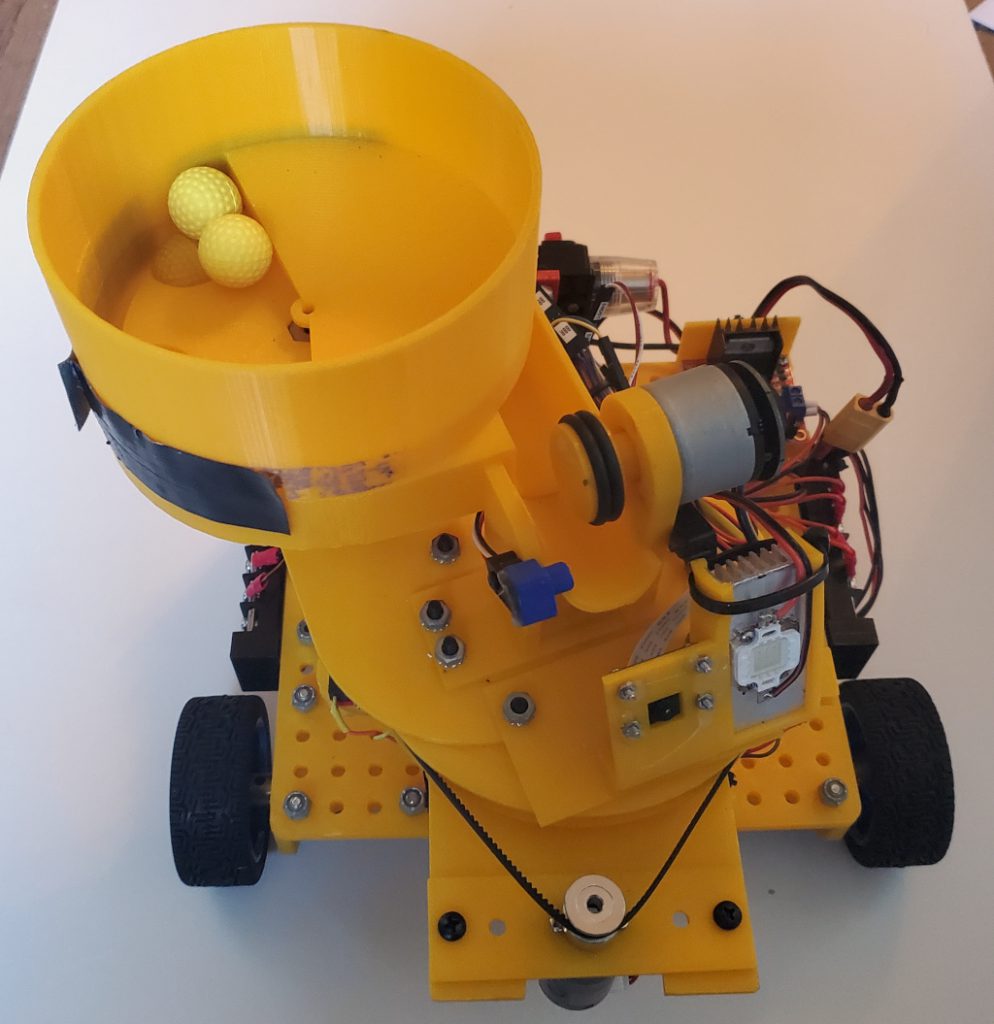
This simple robot worked quite well with the basics but I found that it was not quite sufficient to prepare the student for the more complex robots that the team creates. So I decided to create a second robot with more functionality. This robot, called the Nerfbot, added a turret upon which a nerf ball shooter was mounted. The robot also had a camera which used reflective tape to allow for target tracking. In addition there was a gyro which allowed for the creation of precise autonomous paths. Because of the increased requirements, I moved from using an Arduino to using a 32 bit microcontroller known as the “Blue Pill”. I also moved from a Raspberry Pi Zero to a Raspberry Pi 3. The Nerfbot Tutorial was able to teach all of these concepts which better prepared the student for working on a full FRC robot.
SwerveBot

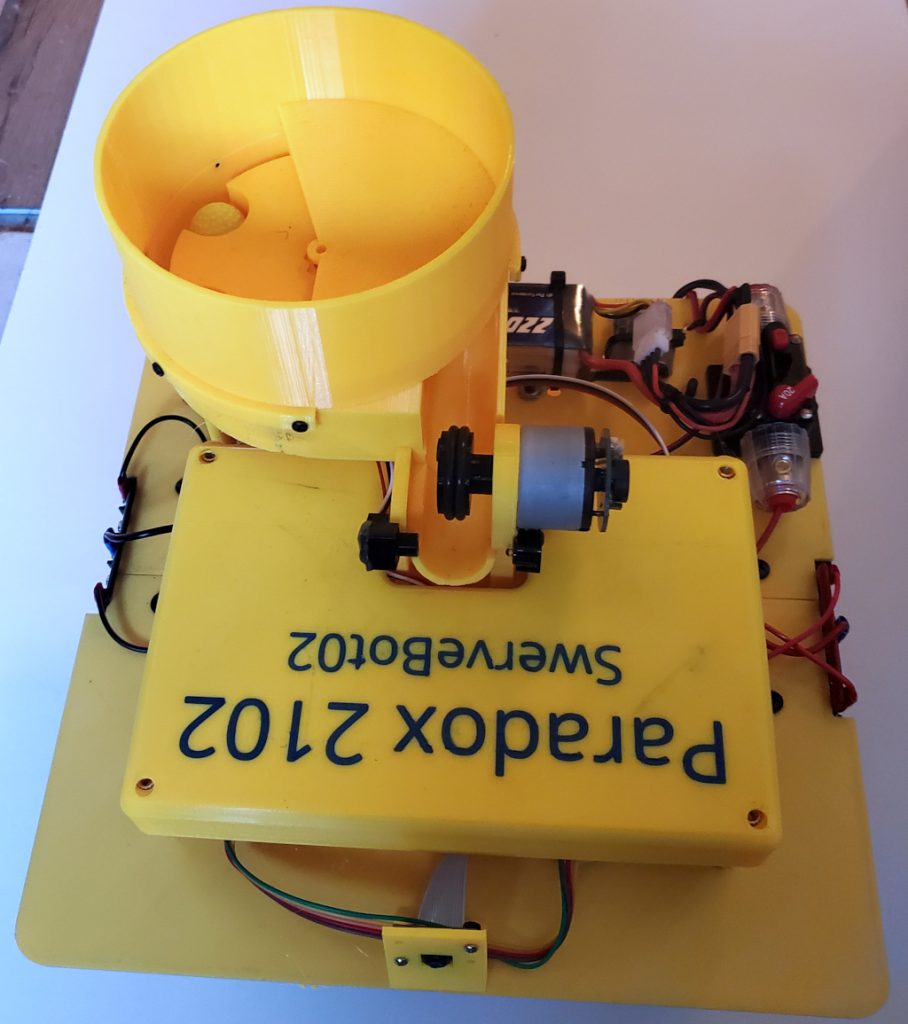
This all worked quite well, but as time progressed, the team made the move to using a swerve drive chassis and replaced the reflective tape vision with Apriltags. This effectively rendered the Nerfbot obsolete. So we have created a new robot based on a swerve drive. The nerf ball shooter is mounted on top (the turret was removed as it was a bit redundant). There is a camera which processes Apriltags and path following using the popular Path Planner is implemented. Due to the increased requirements this new robot needed to use two of the “Blue Pill” microcontrollers and an Raspberry Pi 4. The SwerveBot Tutorial once again allows the student to fully explore most of the elements necessary for a FRC robot.
If you have any questions or comments about this site you can contact me at programming@gabysoft.com.
